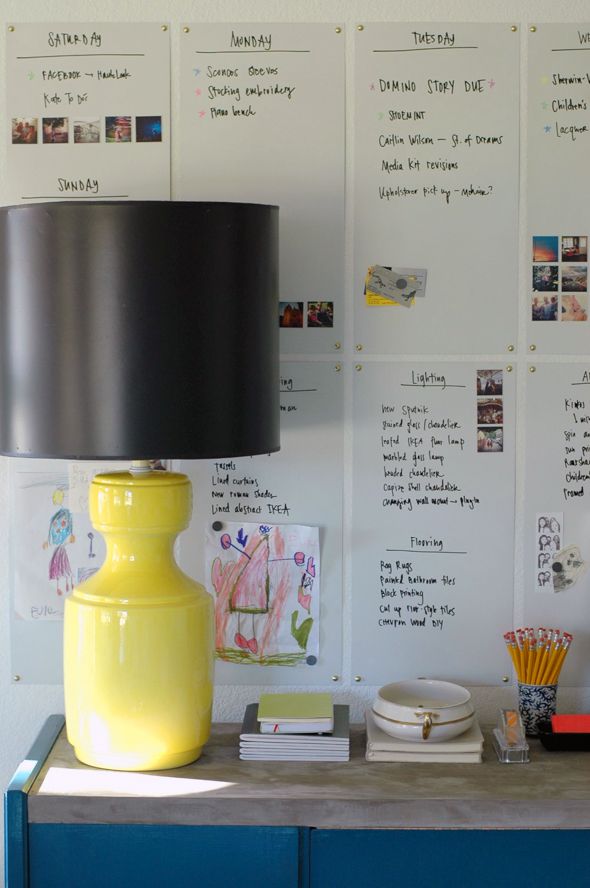
I've always heard that it's really important to have your goals written in a place where you'll see them often. I thought it would be great to have a big wall in my office dedicated to ideas and goals and to-do's. I thought of a chalkboard wall first, but I liked the idea of a big and bright white board. White boards are a little easier to write on and clean up anyway.
You can make any flat surface (including walls) a white board, but I wanted a magnetic surface and I wanted to be able to customize the size of the board. I brought a magnet with me to the sheet metal section of my hardware store and figured out it's important to get galvanized sheet metal or zinc. Aluminum is not magnetic.
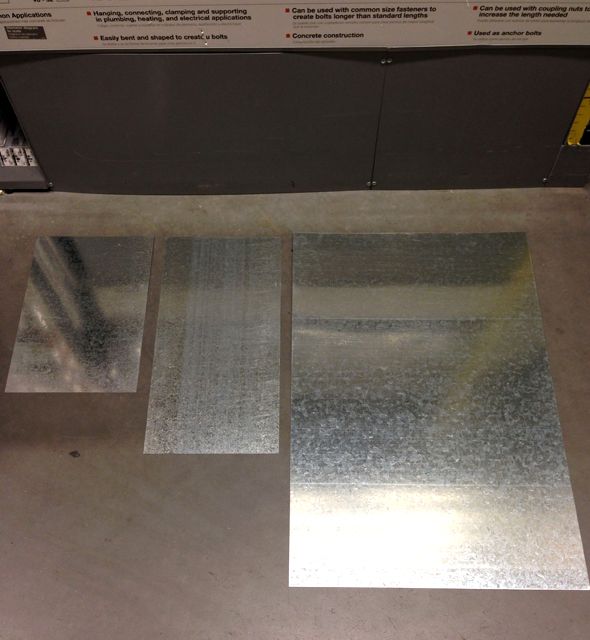
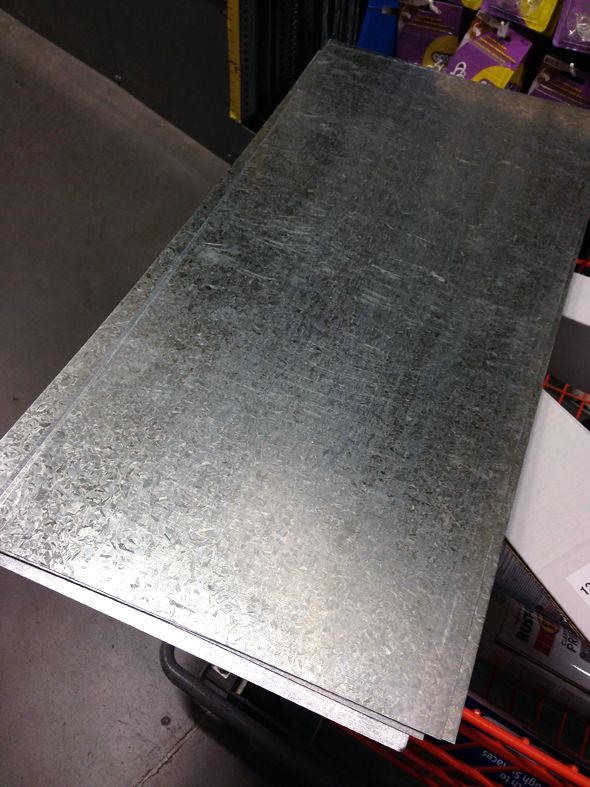
I decided on these 12x18" sheets for my project. I think they were about $5 or $6 each.
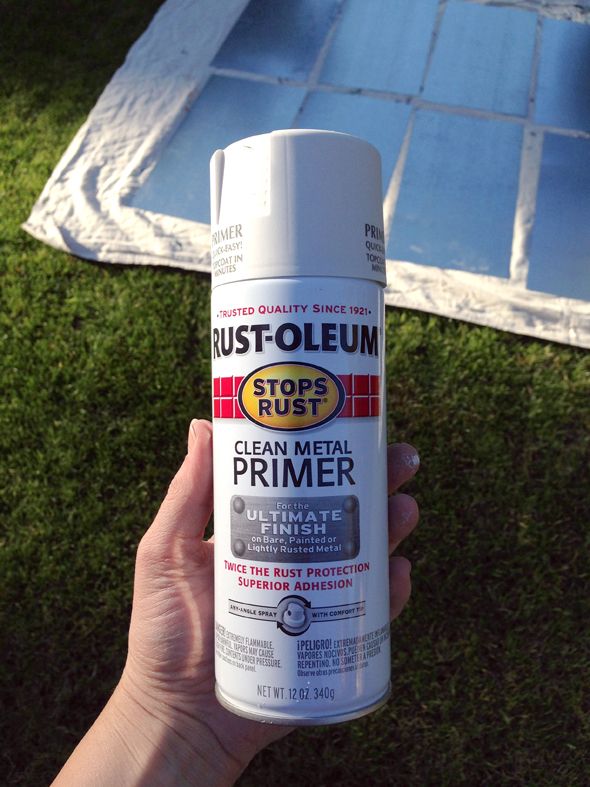
It helps the dry erase/white board paint to stick if you use a good primer on the sheet metal first. I love this spray primer from Rustoleum that's formulated especially for metal (Kilz has an all-purpose spray primer that's great for metal too, but it goes on a little thicker).
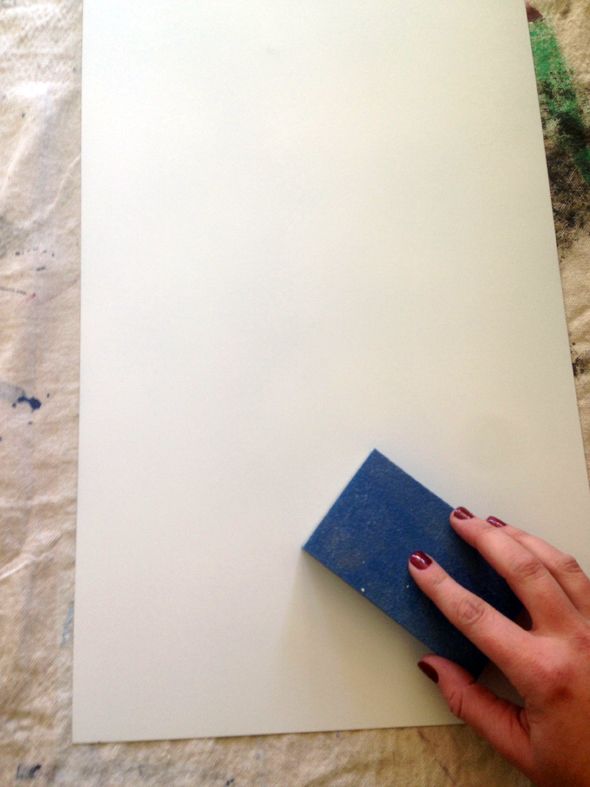
I let the spray primer dry over night and the next day I gave everything a really light sanding and a good wipe down.
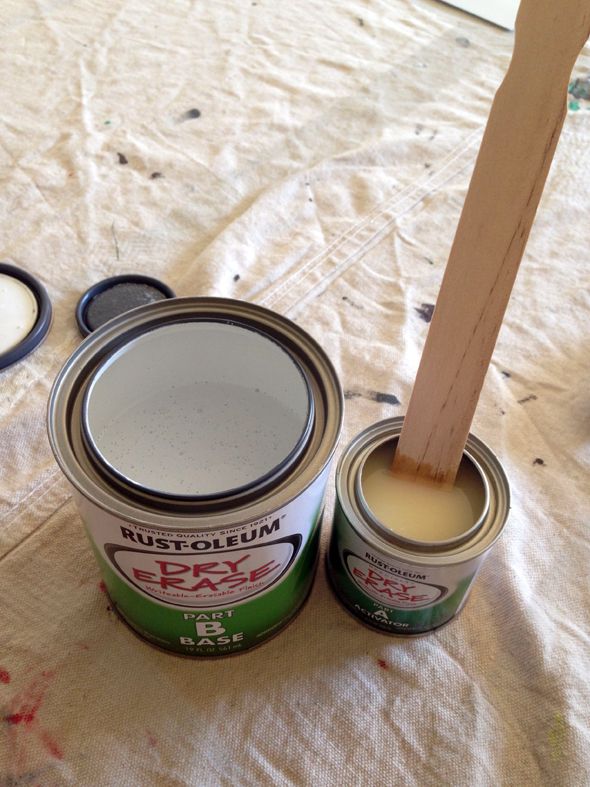
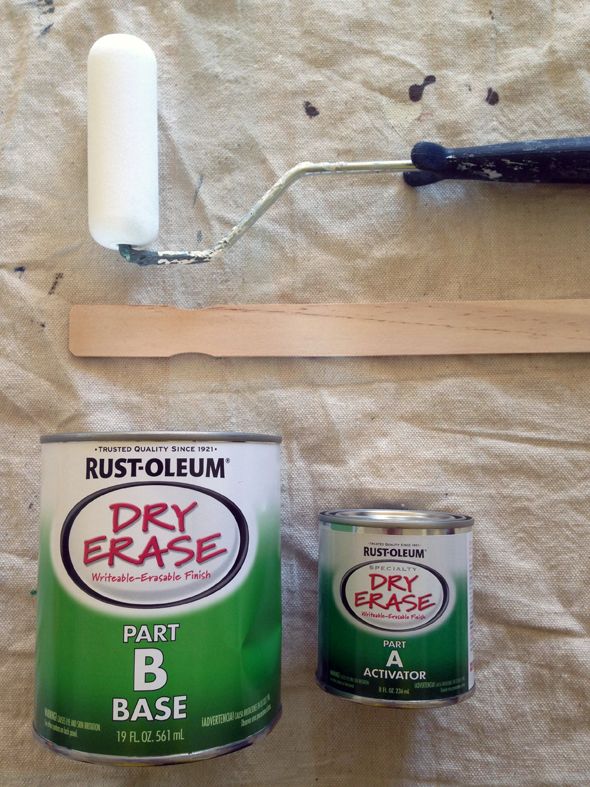
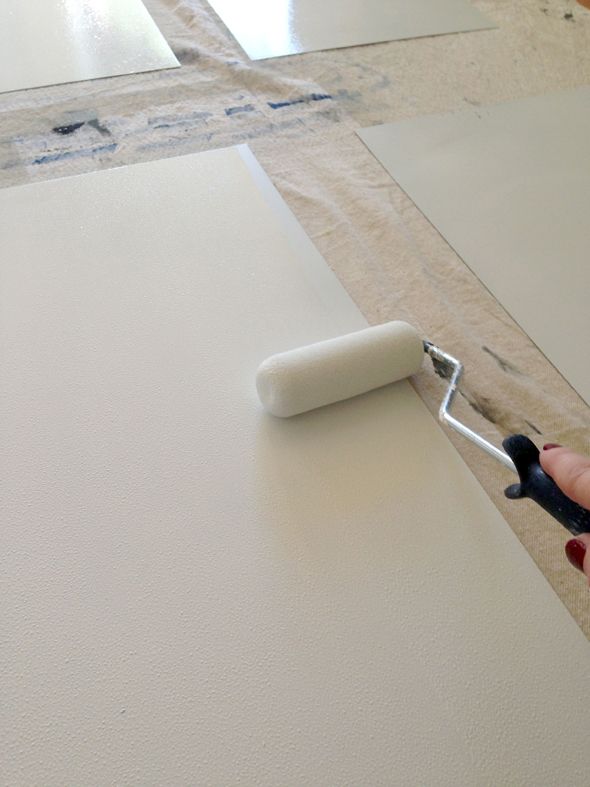
The Dry Erase paint comes in a little box with two parts to mix together.
You'll want a new foam roller to apply the paint too, so everything's as smooth as possible.
I did two or maybe even three coats of the paint to make sure everything was really covered and smooth. There might be little air bubbles at first, but just leave them alone and they'll smooth out.
It takes a little work to get a nail through sheet metal, and it's much easier to do that while the sheet metal is laying flat on the ground. So after the little white boards were dry, I made holes in the corners of the sheet metal pieces using the sharpest nails I had on hand and a scrap piece of wood.
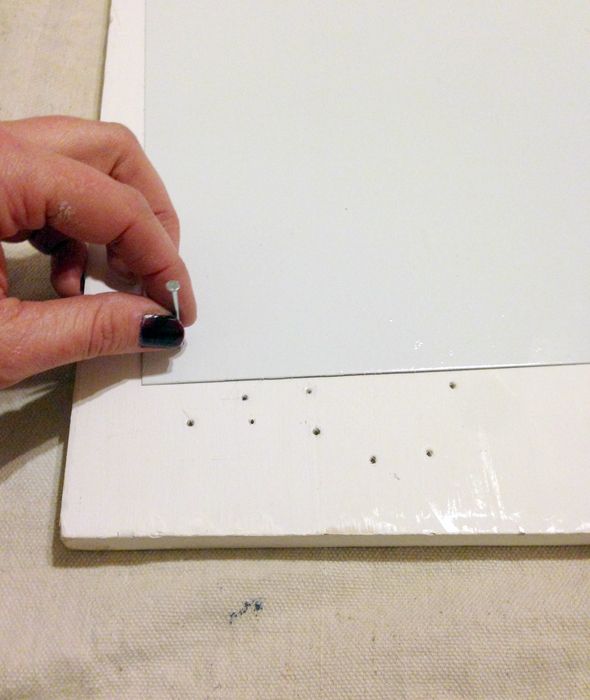
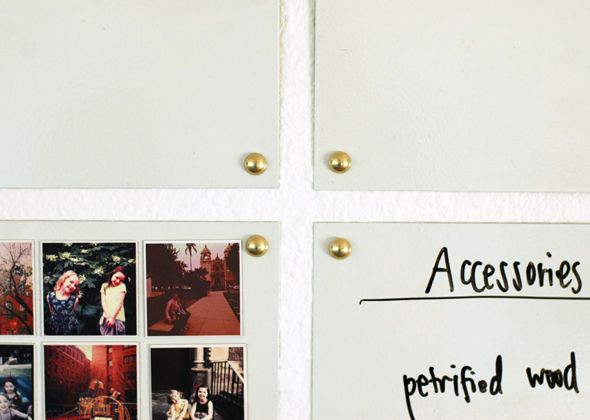
Having the holes done beforehand made all the difference and it was so easy to just hold up the sheets in the right place with one hand while tapping in my brass upholstery nails with the other.

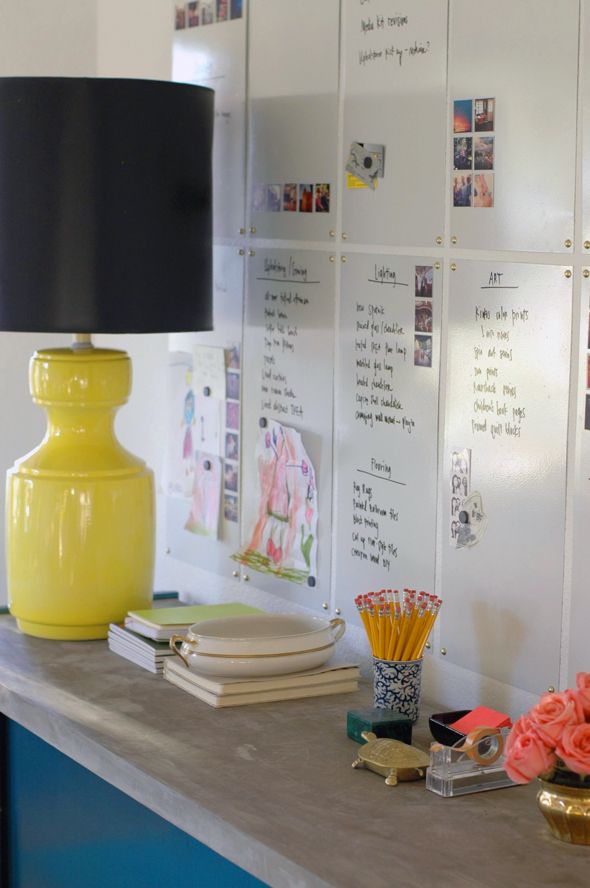
The boards are super smooth and are easy to write on and erase, just like any white board you'd buy at the store. I will say that colorful dry erase markers usually need a cleaning solution to completely erase, but I think that's the case with store-bought white boards too. Those markers are just a bit stubborn.
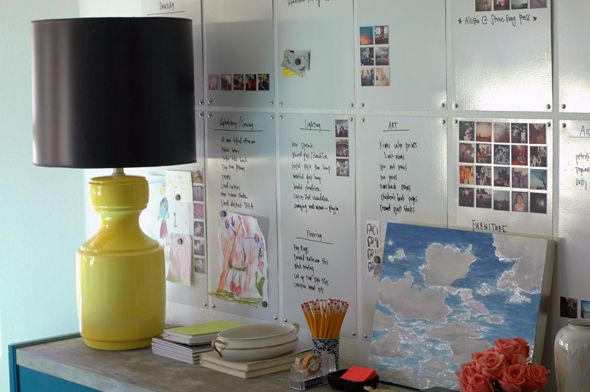
I keep all of my markers in this pretty little gilded soup tureen I got at a flea market in Brussels.
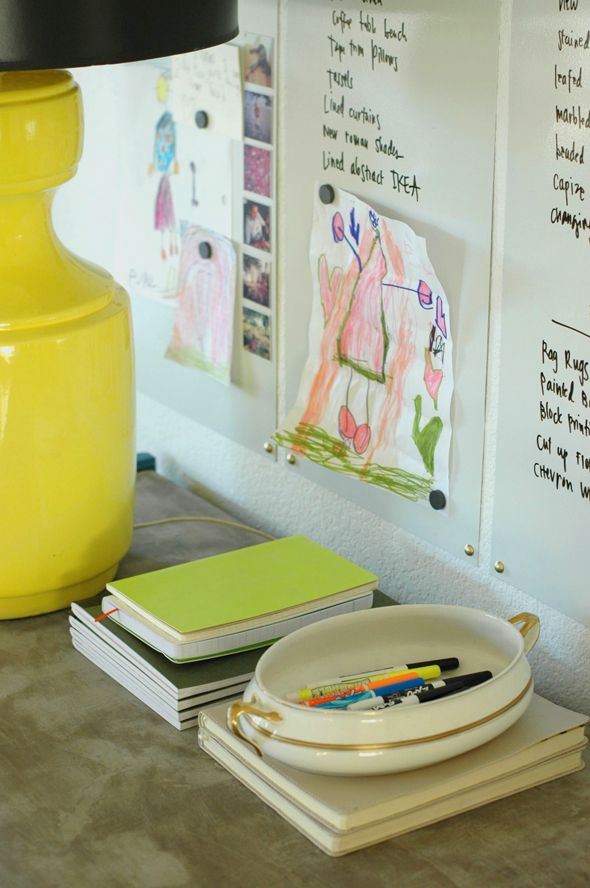
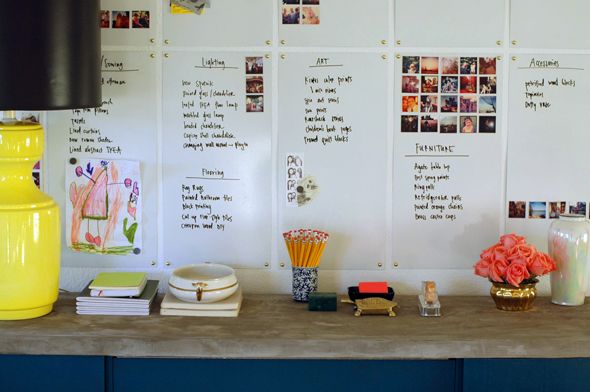
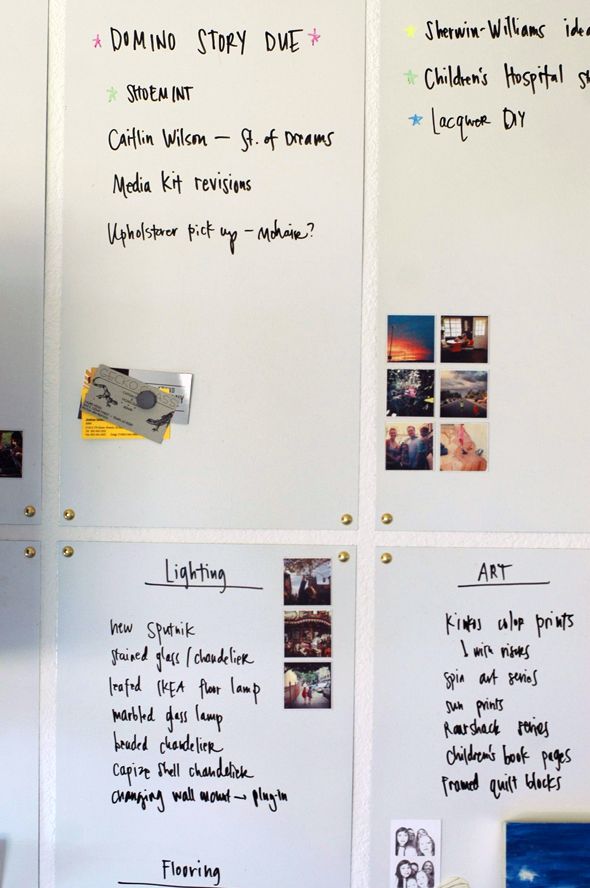
It was so worth it to go the extra mile to make my white boards magnetic. I have my Sticky Gram collection on the boards (which I think helps break up the sea of white) as well as a few other rogue magnets. The girls love to come in and hang up their latest masterpieces for me. Sweet kids.
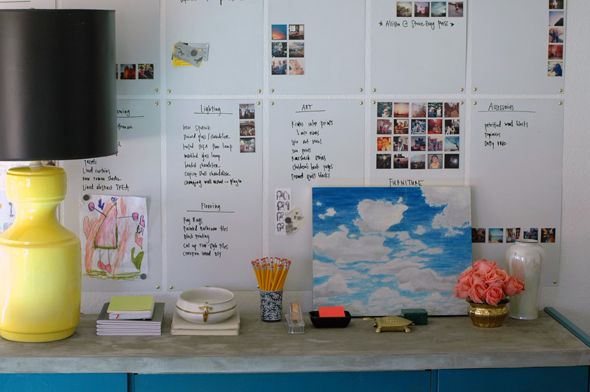
So I think we spent about $80 for this project, between the six sheets of zinc, primer, dry erase paint, new roller and upholstery tacks. More than a typical 16x20 board from Target or whatever, but I love how much visual space the series of boards takes up in my big office. It fits the scale of the room much beeter this way. And of course functionally, I really love having a place to keep ideas that won't get buried on my computer or accidentally thrown away on a sheet of paper. Having big plans written up here helps me at least feel a lot more organized, which I'm learning is half the battle. :)
0 comments :
Post a Comment