
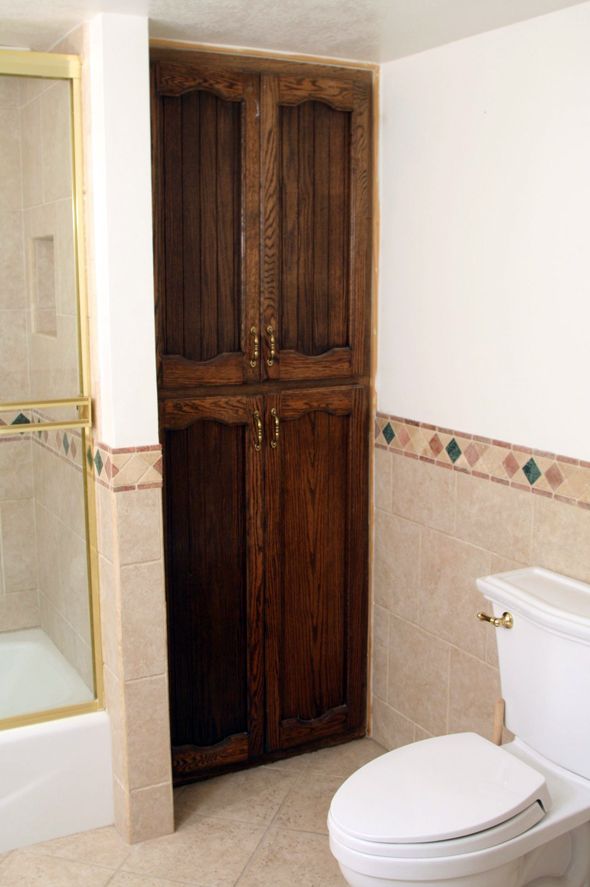
Our house is full of these country-style 80's cabinets, but I didn't want to have to replace all of them, since they work fine, they just weren't pretty at all.
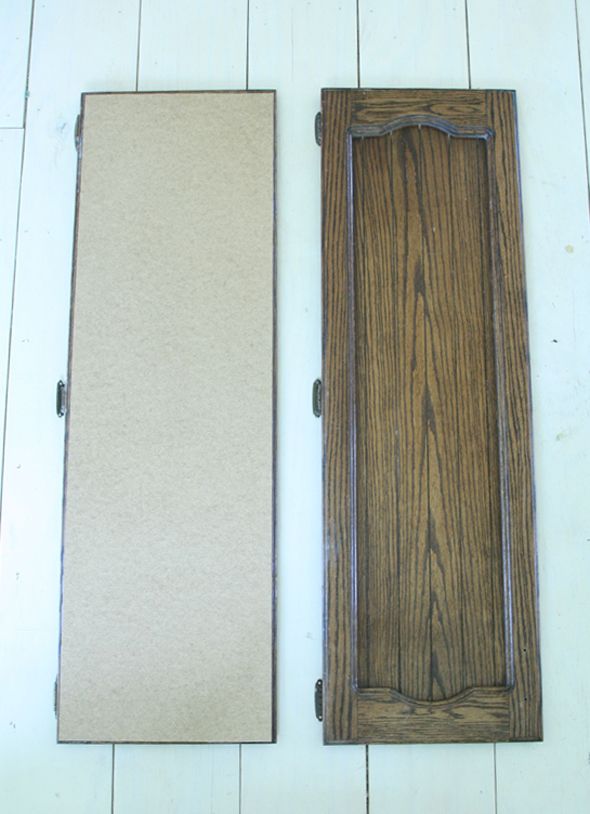
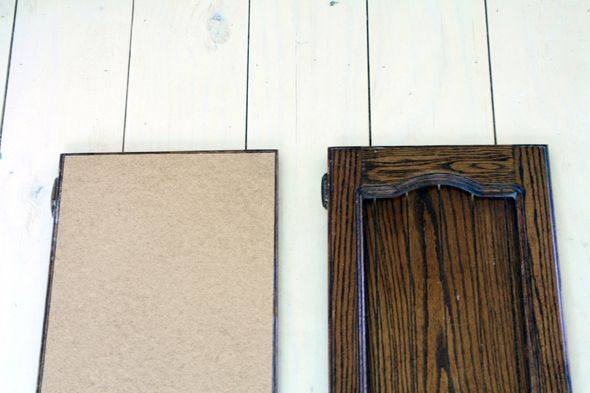
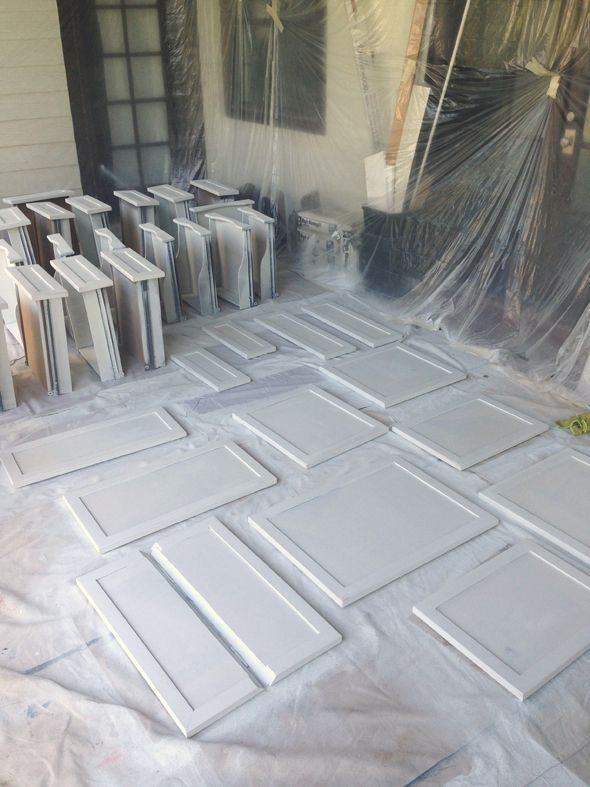
To start, I carefully measured the fronts of the doors at wherever was the thickest part of the door. The nice people at Home Depot cut down very thin, but super sturdy 1/8" hardboard to the exact sizes I needed. This is the same material I used to add paneling to the mudroom. It takes paint very well (on the brown side, not the slick white side) and is an easy product to work with because it's so lightweight.
I used a bit of Liquid Nails Paneling to adhere the hardboard to the cabinet door. I didn't use too much because I wanted the hardboard to sit really flush and tight against the old door.
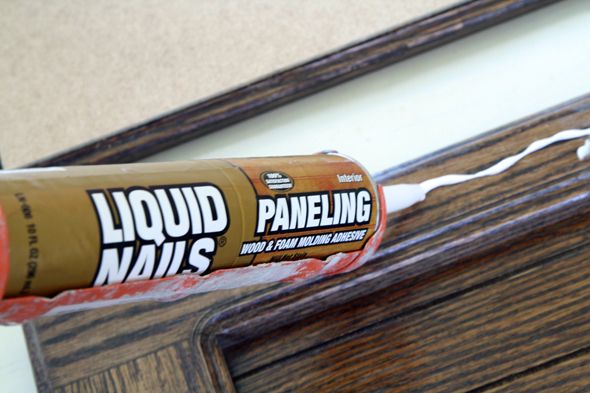
I thought I might have to throw in a few finishing nails to keep everything together, but the Liquid Nails ended up being enough and there was a really tight seal on the edges. It worked surprisingly well!
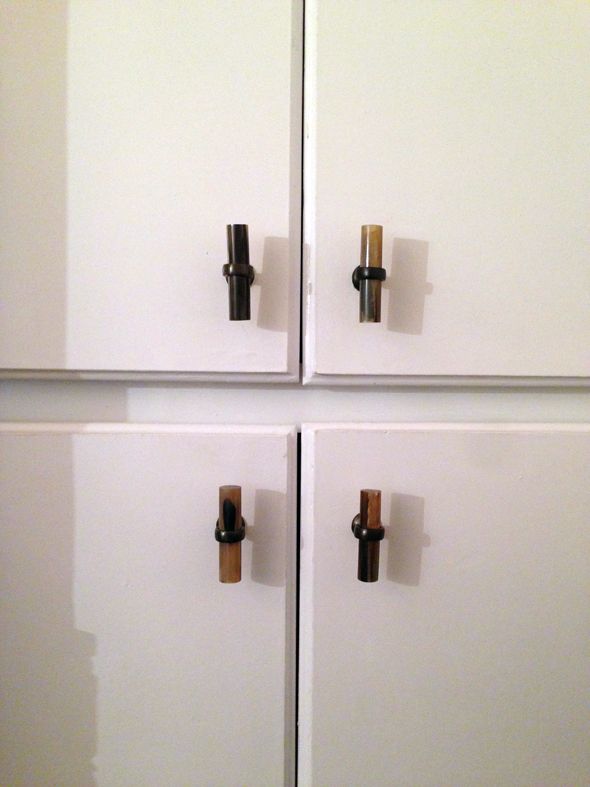
After everything had dried for a full day, we caulked the edges and gave everything a coat of primer and two coats of paint before installing the doors again and adding the hardware from Anthropologie.
It's not perfectly perfect, but it was like $10 of hardboard to update these cabinets and I like them a million times more now!
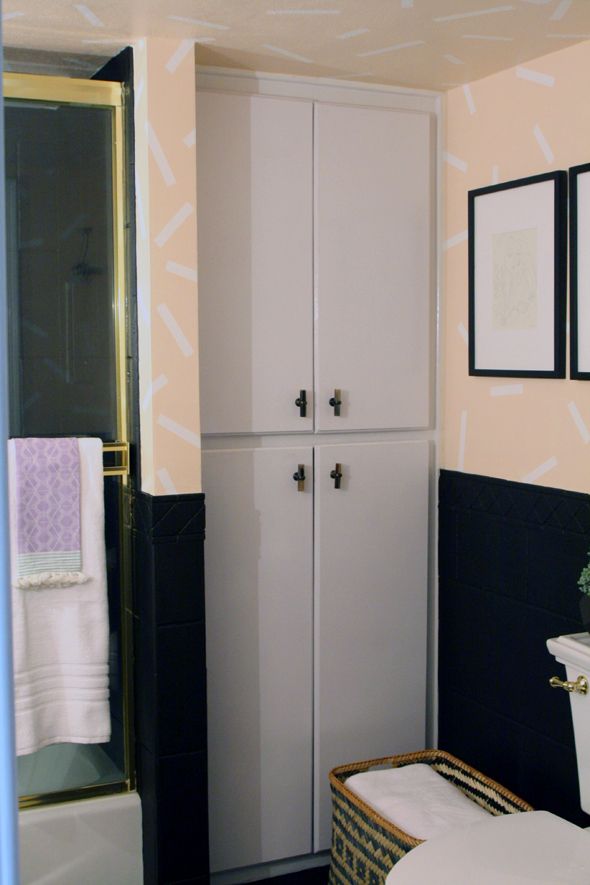
Some of you noticed that my kitchen cabinet door fronts had a similar old style. I used this exact process in our kitchen too before adding the corner moulding! It's so easy and cheap and really doesn't change the weight or the thickness of the doors in a major way.

I'm eyeing my laundry room cabinets now. :)
0 comments :
Post a Comment